Table of Contents
Follow below steps to print using the thermal printer.
Printing from Doctor’s PC #
- Configure the Thermal Printer on your computer. Make sure you can see the Thermal Printer in Printer and Scanners section of your Windows PC.
- Login to MyOPD Software
- Open Help -> Printer Preferences.
- Select the setting for Prescription or Receipt at the top of the Form.
- Choose the Thermal Printer from the Drop down provided for Thermal Printer.
- The Thermal Print will have a different format of printing compared to regular print as the print has to be accommodated on a small paper.
- This feature is currently available only on Server PC. If you are using Multi-Doctor or IPD Version, the client PC will now have this feature.
Printing from Reception PC #
- To print a Thermal Receipt from Reception PC, you still have to configure the Thermal Printer on Doctor’s PC.
- Keep the Printer near Reception Desk such that it is accessible via Bluetooth / WiFi from the Doctor’s PC.
- Open Help -> Printer Preferences on the Doctor’s PC
- Select the setting for Receipt at the top of the Form.
- Choose the Thermal Printer from the Drop down provided for Thermal Printer.
- Now select Prescription at the top of the Form.
- Set the Reception Printer to the Thermal Printer set in the Receipt section.
- That’s it. Now when Reception staff will use Save and Print option, the receipt will be printed from the Thermal Printer.
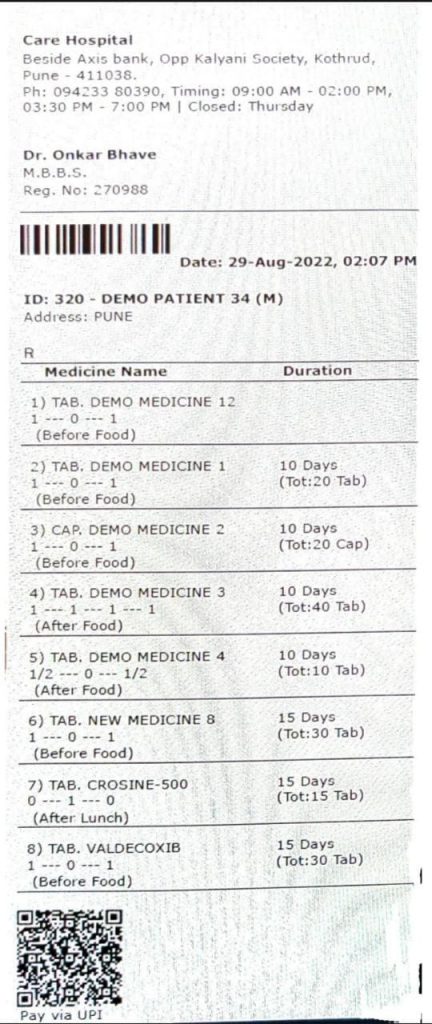
Below is a sample of how the Prescription would look via a Thermal Printer.
You can choose to include or exclude
- Barcode
- Payment QR code at the bottom
- Time of Visit


