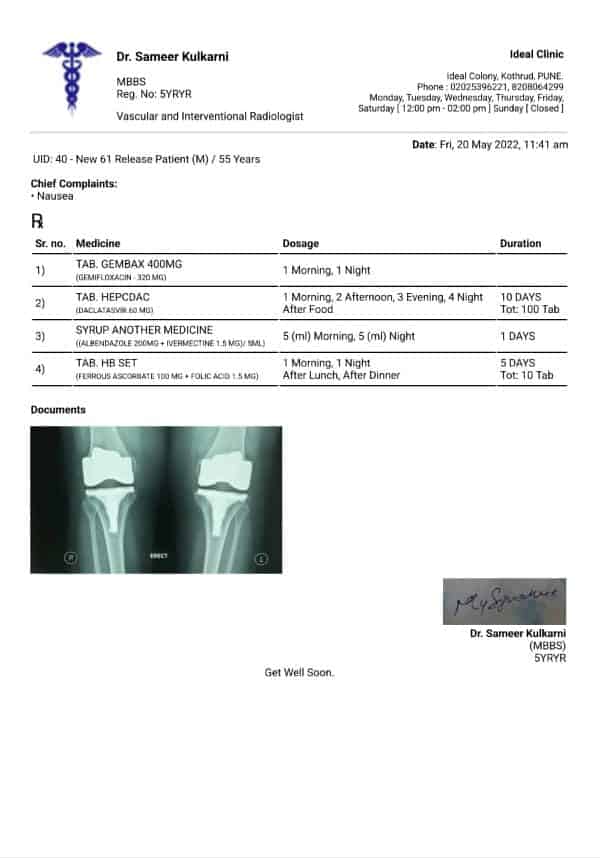
Many times, Doctors like to print a short image of an X-Ray or image of the skin condition or an ECG along with the prescription. MyOPD allows you to do so.
Take a look at sample printed prescription image below:
To print an image on Rx, follow below steps:
- Make sure patient visit has Images in the Documents section of the visit. These images can be added in the Documents section if they are not already added to the visit.
- Tap on the Printer icon at the top right corner of the Patient Visit. There is also a printer icon at the bottom of the Patient Visit. However, the bottom printer icon is a quick print icon without option to select items to be printed.
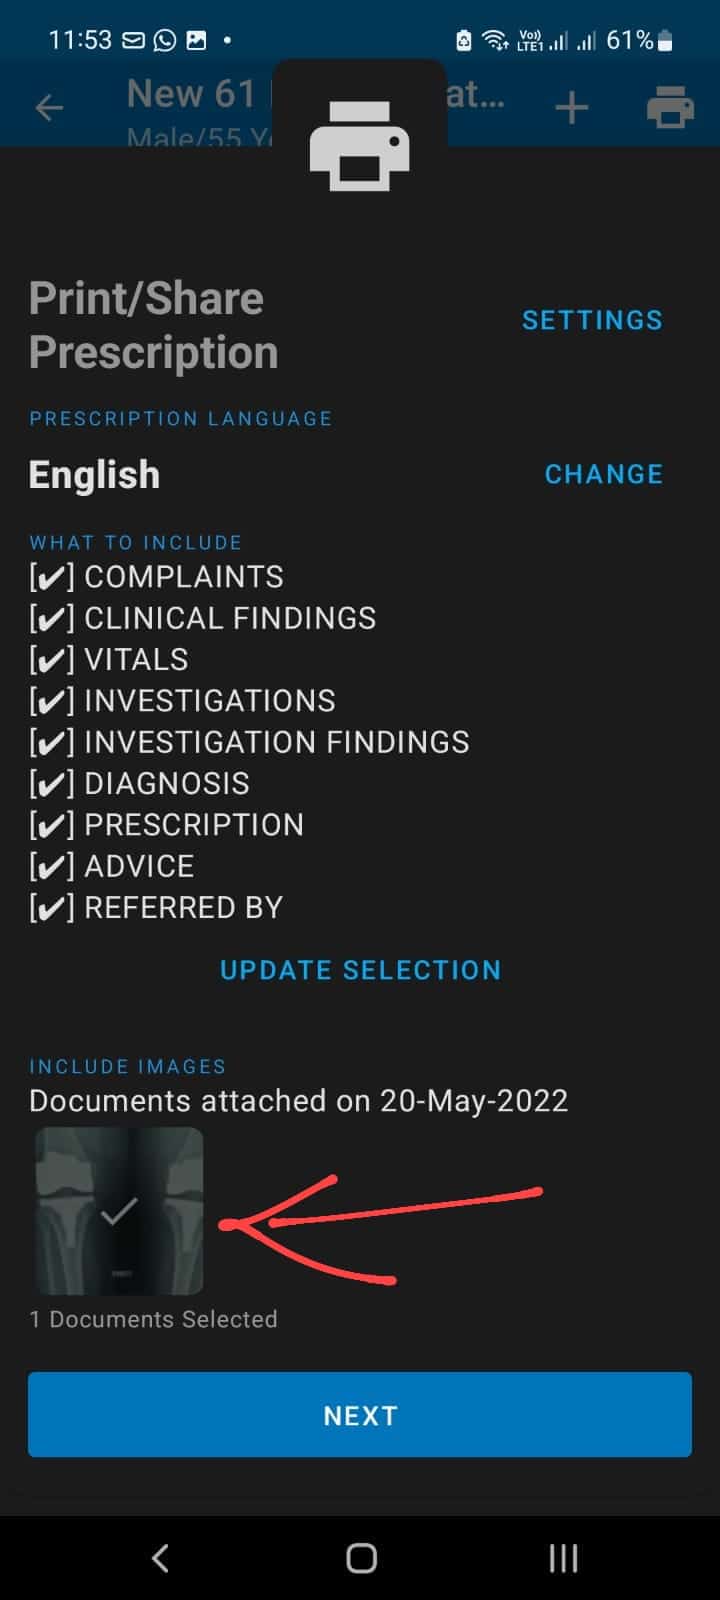
- After tapping the top right print icon, a page will open which will give options to select the items to be printed.
- Images attached today to patient’s file will show up here as well.
- Long press on the image you need to print on the Rx. A tick will appear on the selected image. See the figure below explaining it.
- Click Next. This image will now be printed on the Rx.
Make sure you are using the latest version of the app. Check the app at Google Playstore https://play.google.com/store/apps/details?id=in.myopd.android


